Set up a DSC and configure a desired state
In this project, I complete the Azure Exercise - Set up a DSC and configure a desired state.

Protect VM Settings with Desired State Configuration
Exercise Overview
In this exercise, you create an Azure Automation account and upload a PowerShell DSC. Then, you onboard an existing VM into Azure Automation. Finally, you check if the VM is missing IIS. If it is, you run code to install and configure IIS on the VM.
Implementation
Create a VM
Start by deploying a new VM from a Windows Server 2019 image. In this exercise, we will use the Azure Cloud Shell to create the VM.
-
In the Azure portal, open the Cloud Shell.
-
Create a resource group for the VM.
Powershell:
New-AzResourceGroup -Name "protect-vms-rg" -Location "West Europe"Bash:
az group create --name protect-vms-rg --location "West Europe" -
Create a username and password for the VM.
Powershell:
$cred = Get-CredentialBash:
read -p "Enter username: " usernameread -s -p "Enter password: " password -
Create the VM. Powershell:
New-AzVm
-ResourceGroupName "protect-vms-rg"
-Name "protect-vms-vm"
-Image "win2019datacenter"
-Credential $cred
-OpenPorts 80
Bash:
az vm create \
--resource-group protect-vms-rg \
--name protect-vms-vm \
--image win2019datacenter \
--admin-username $username \
--admin-password $password
az vm open-port --port 80 --resource-group protect-vms-rg --name protect-vms-vmIt takes a few minutes to create the VM and supporting resources. If the VM is created successfully, you should see output like this:
{ "fqdns": "", "id": "/subscriptions/<guid>/resourceGroups/protect-vms-rg/providers/Microsoft.Compute/virtualMachines/myVM", "location": "europewest", "macAddress": "00-0D-3A-36-BA-28", "powerState": "virtual machine running", "privateIpAddress": "10.0.0.4", "publicIpAddress": "104.40.69.56", "resourceGroup": "protect-vms-rg" } -
Copy the
publicIpAddressin this output and save it. Later in the exercise, you will use this address to access the VM. -
In your web browser, go to the public IP address of your VM
http://<publicIpAddress>. Although port 80 is open, you should see the error message This site can't be reached. This error occurs because IIS is not deployed on your VM. We fix that later in this exercise.
Create an Automation Account
- Sign in to the Azure portal.
- In the search bar, type Automation and select Automation Accounts from the results.
- Select Create to create a new Automation account.
- In the Create Automation Account window, enter the following values:
- Subscription: Select your Azure subscription.
- Resource group: Select the existing resource group
protect-vms-rgin the drop-down list. - Name: Enter a name for the Automation account, such as
protect-vms-aa. - Region: Select the region
Europe West.
- Select Review + create and then select Create. Wait for the Automation account to be created.
- Select Go to resource to open the Automation account.
Create a DSC configuration script
- In Cloud Shell, if in Bash, switch to PowerShell by entering
pwsh. - Create a new folder for the DSC configuration script.
New-Item -Path $HOME -Name "DSC" -ItemType "directory" - Change to the new folder.
cd $HOME/DSC - Create a new DSC configuration script.
New-Item -Path $HOME/DSC -Name "IISConfig.ps1" -ItemType "file" - Open the script in the Cloud Shell editor.
code $HOME/DSC/IISConfig.ps1 - Copy the following code into the editor and save the file.
Configuration IISConfig { Node "localhost" { WindowsFeature IIS { Ensure = "Present" Name = "Web-Server" } } } - Select
Ctrl+Sto save the file to your home directory, and then close the editorCtrl+Q. - In your Powershell session in Azure Cloud Shell, enter the following code, replacing
<your-automation-account-name>with the name of your Automation account.
To upload the DSC script into your Azure Automation account and compile it, enter the following code:$automationAccountName = "<your-automation-account-name>"
The command should produce output that looks like this:Import-AzAutomationDscConfiguration -ResourceGroupName "protect-vms-rg" -AutomationAccountName $automationAccountName -SourcePath $HOME/DSC/IISConfig.ps1 -Published -ForceResourceGroupName : [resource group name] AutomationAccountName : [your-automation-account-name] Location : eastus State : Published Name : MyDscConfiguration Tags : {} CreationTime : 6/25/21 5:44:36 PM +00:00 LastModifiedTime : 6/25/21 5:44:36 PM +00:00 Description : Parameters : {} LogVerbose : False
Add required modules (optional)
After you upload your DSC configuration script, import any PowerShell modules that the DSC process needs. Our configuration doesn't need any other modules, so we can skip this step. If you needed to import or add modules into your automation account you would go to Shared Resources, and then select Modules > Add a module.
Compile the DSC script
- In the Azure portal, open your Automation account.
- In the left menu, select State configuration (DSC) > Configurations.
- Verify that the DSC configuration IISConfig script you uploaded is listed. If it is not listed, select Refresh.
- Select the IISConfig configuration.
- Select Compile to compile the DSC configuration script.
- In the Compile configuration window, select Yes.
- Check your notifications (notifications icon is in the global controls in the page header). Wait for the compilation job to show Status of Completed, which may take several minutes.
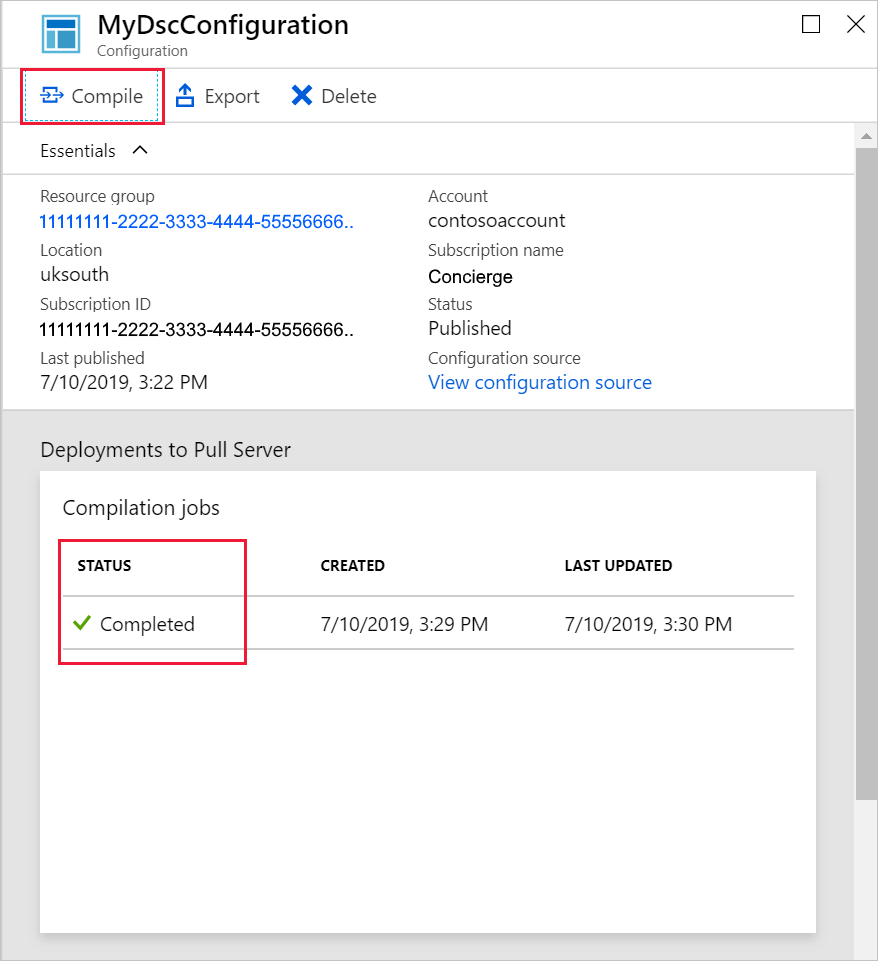
- When compliation is complete, close the IISConfig panel. Your State configuration (DSC) pane appears.
Register the VM with your Azure Automation account
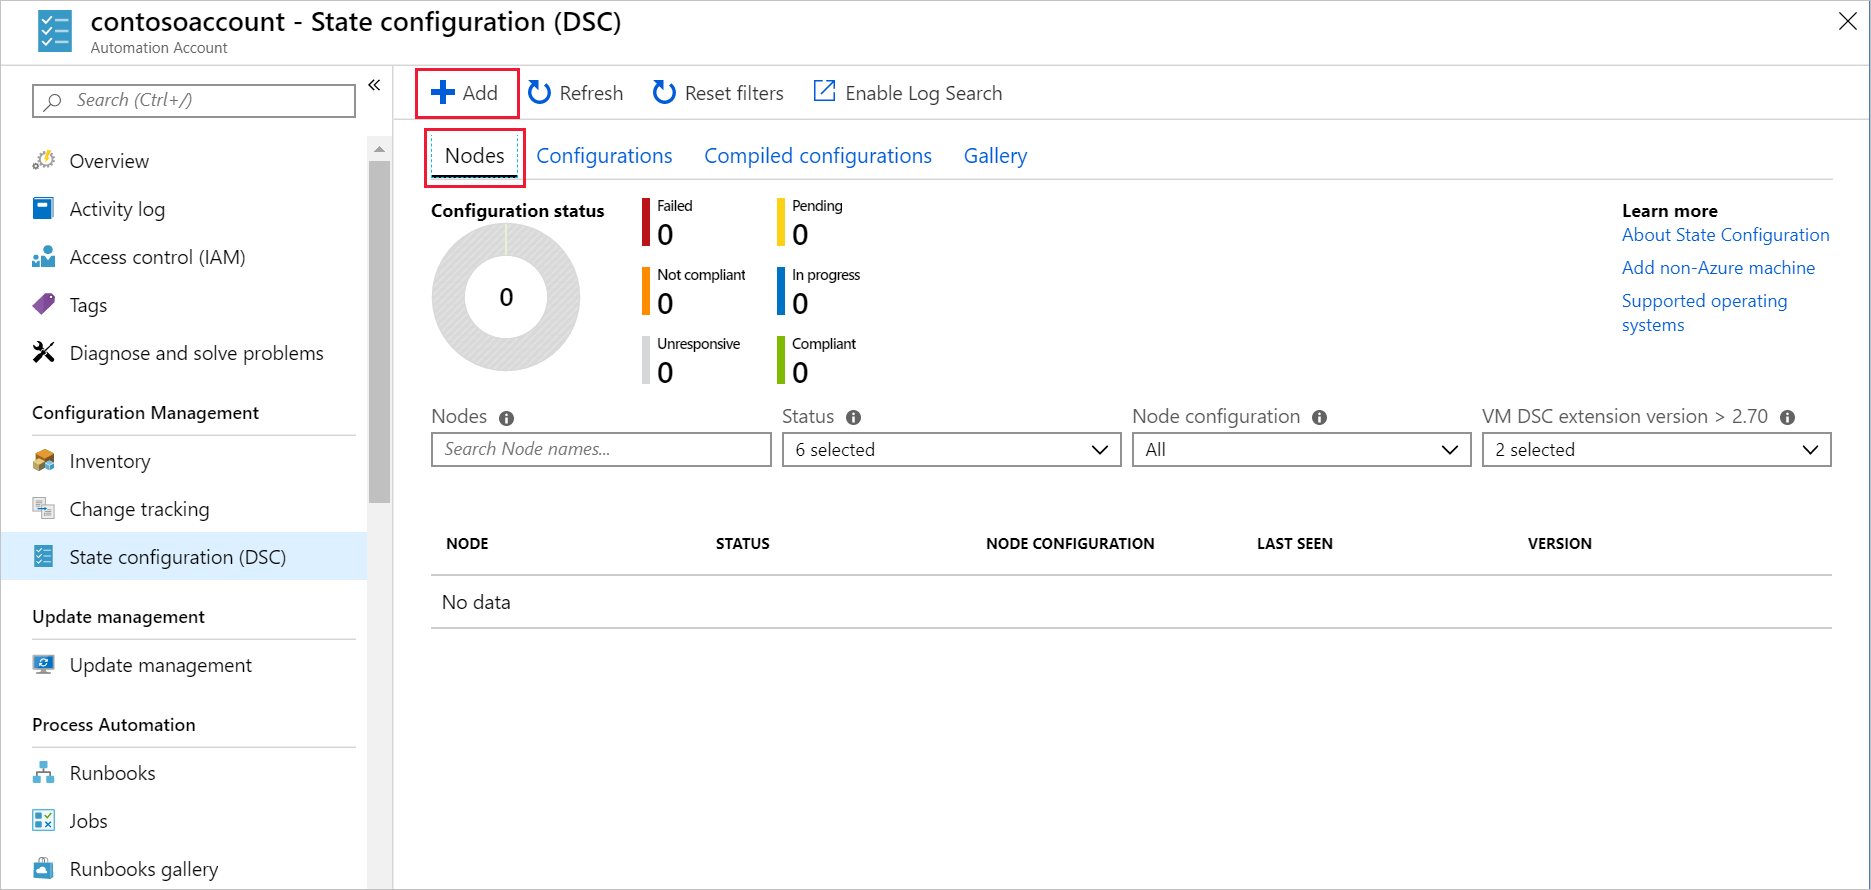
-
On the State configuration (DSC) pane for [your-automation-account-name], select Nodes. In the command bar, select Add Azure VM. The Virtual Machines pane for your Automation account appears.
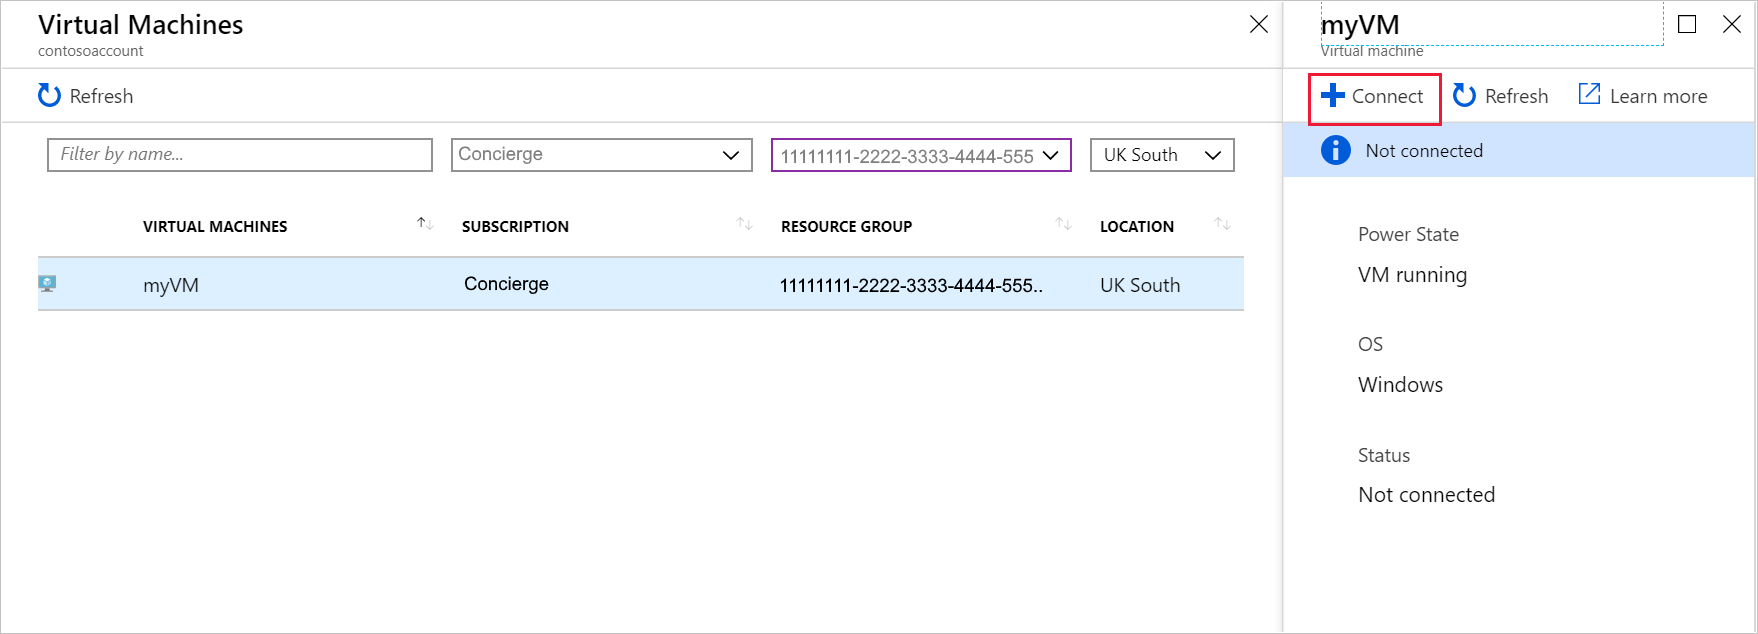
-
Select the VM you created earlier, and then select Add. It may take up to 10 minutes for the configuration and VM to propagate in the network. IF the VM isn't listed, wait a few minutes and then select Refresh in the command bar until the VM appears.
-
In the command bar, select Connect. The Registration pane appears.
-
Enter the following values for each setting.
| **Setting**                  | **Value**                                                   |
|------------------------------|-------------------------------------------------------------|
| Node configuration name      | From the dropdown list, select MyDscConfiguration.localhost |
| Refresh Frequency            | 30                                                          |
| Configuration Mode Frequency | 15                                                          |
| Configuration Mode           | ApplyAndMonitor                                             |
| Allow Module Override        | Select checkbox                                             |
| Reboot Node if Needed        | Select checkbox                                             |
| Action after Reboot          | ContinueConfiguration                                       |
-
Select OK.
-
Wait until the VM is connected. This process might take a few minutes. When your protect-vms-vm has connected, in the breadcrumb path in the top left of the portal, select your automation account to close the Registration and Virtual Machines pane. The State configuration (DSC) pane for your automation account appears.
-
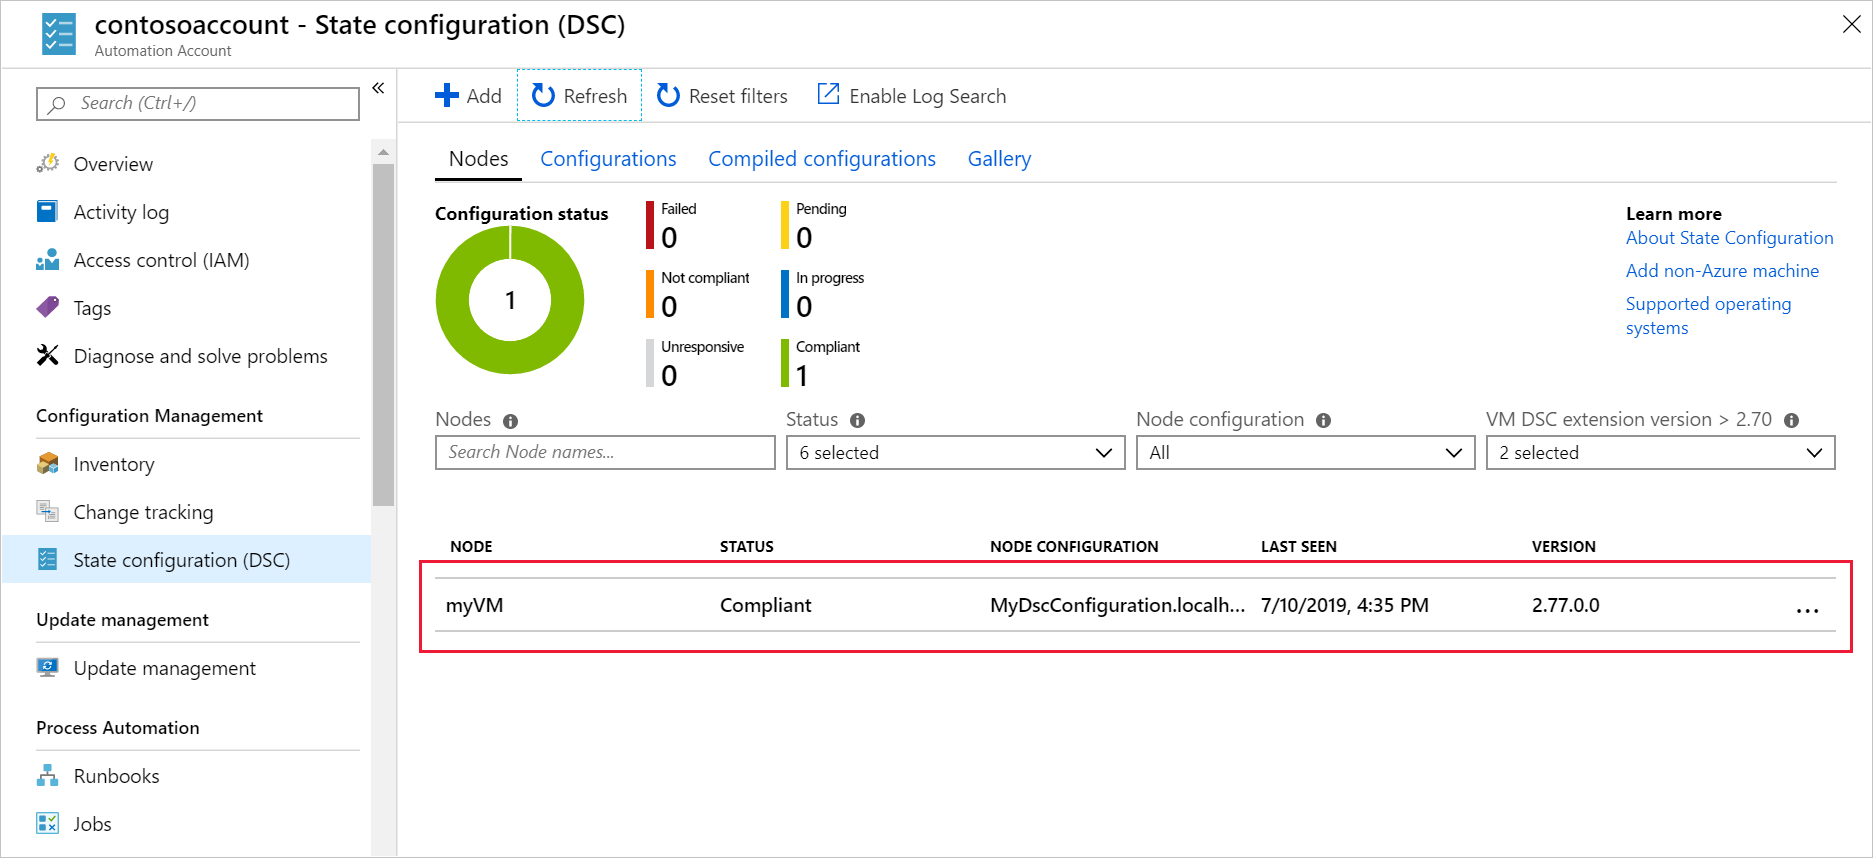
In the command bar, select Refresh.
-
Verify that the node protect-vms-vm appears in the list and that its status is Compliant.
Verify that IIS is installed on the VM
In your web browser, go to http://[public-ip], where, [public-ip] is the public IP address that you recorded earlier in this exercise.
You should see the default IIS webpage.
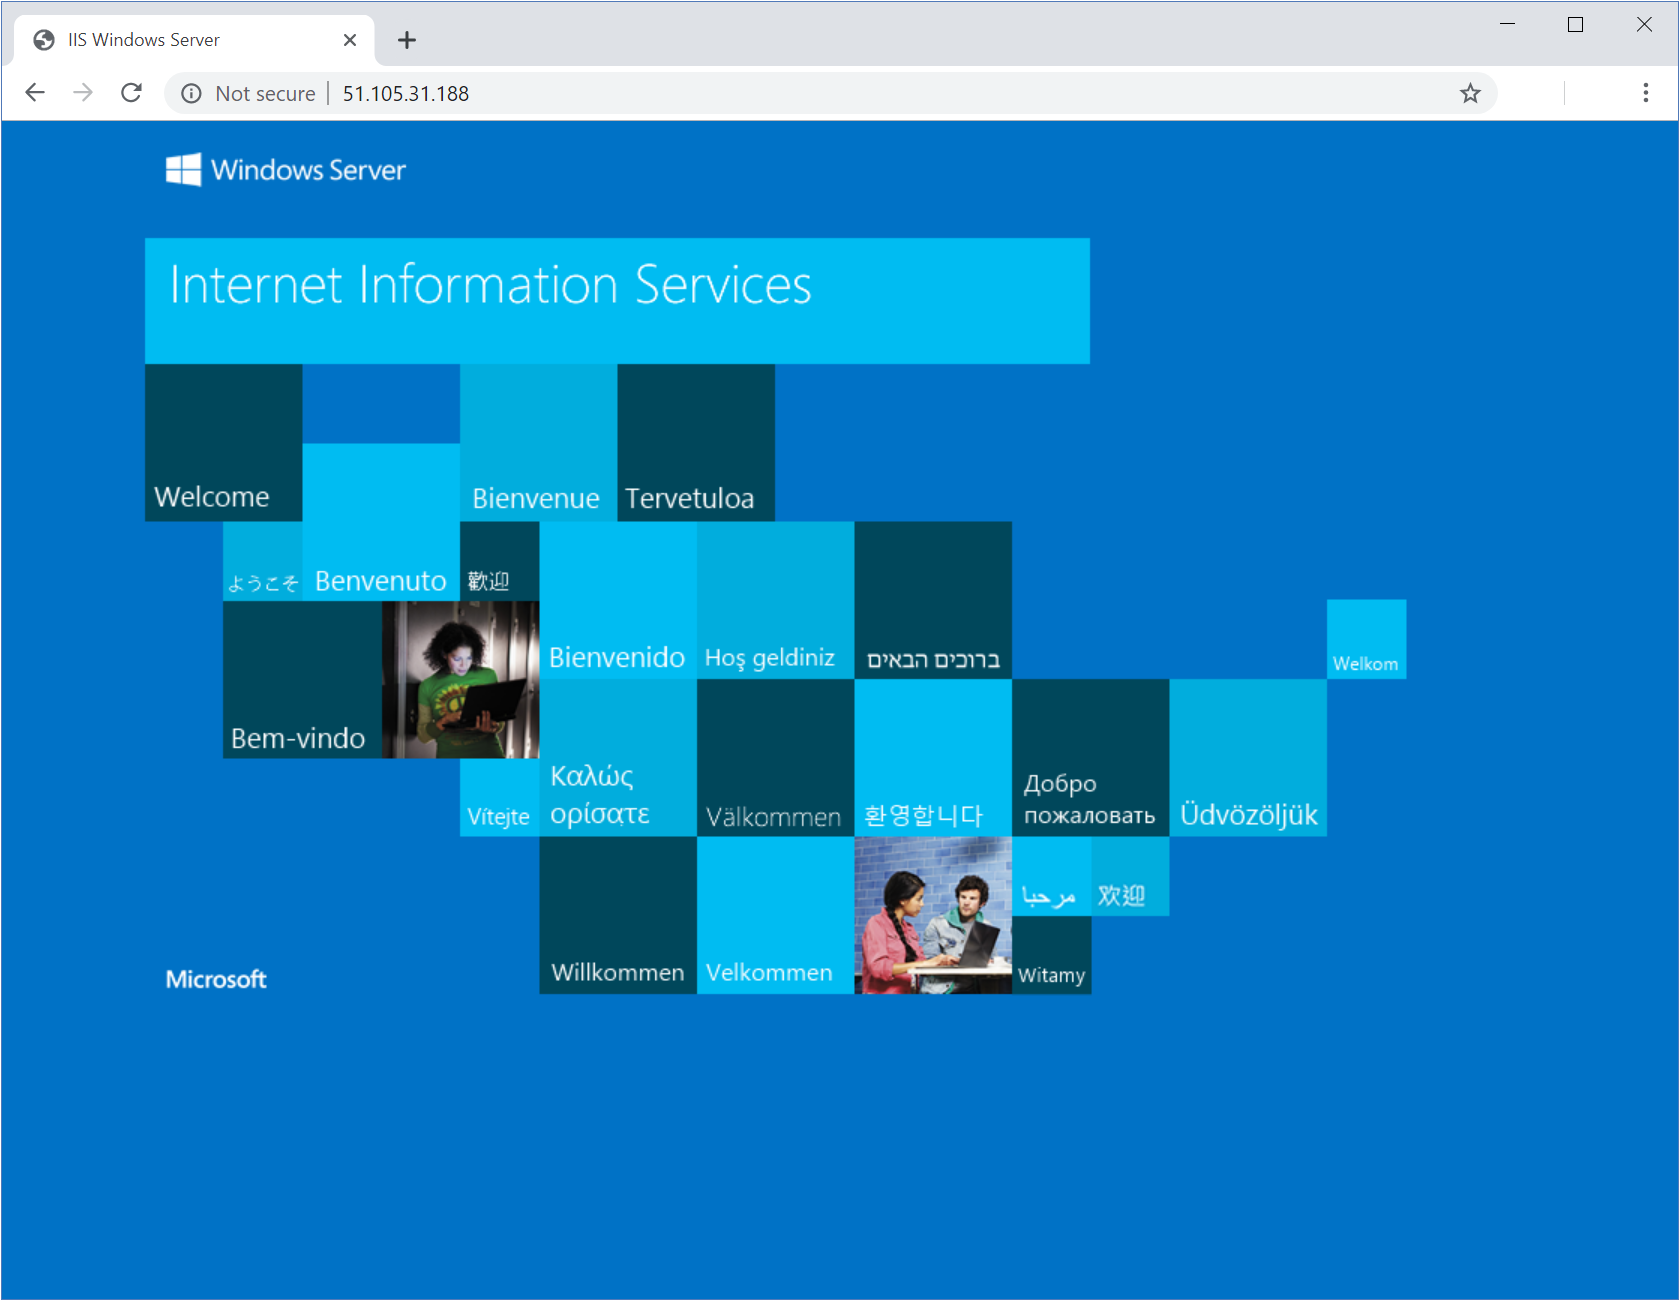 Congratulations! IIS has been deployed. Azure Automation used the PowerShell DSC script you uploaded to your Azure Automation account.
The following resources were created in this exercise:

Clean up resources
- In the Azure portal, open the Cloud Shell.
- Delete the resource group and all resources in it.
Remove-AzResourceGroup -Name "protect-vms-rg" -Force -AsJob - When prompted, enter
Yto confirm the deletion. - Close the Cloud Shell.